


Whether you're a budding entrepreneur or an established business looking to extend your reach, Shopify is a fantastic platform that can bring your eCommerce vision to life. Our in-depth guide aims to ease your journey into the Shopify universe, breaking down every step in detail.
Step 1: Sign Up for Shopify
To begin, visit Shopify's official website and click on the 'Start free trial' button. You'll be asked to provide an email address, password, and a store name. This name should be unique and memorable, representing your brand effectively.
Step 2: Setting Up Your Online Shop
Once signed up, you'll be directed to your Shopify dashboard. This is your command center, where you'll manage products, orders, and site layout. Select the 'Customize Theme' option to begin tailoring your store's look and feel.
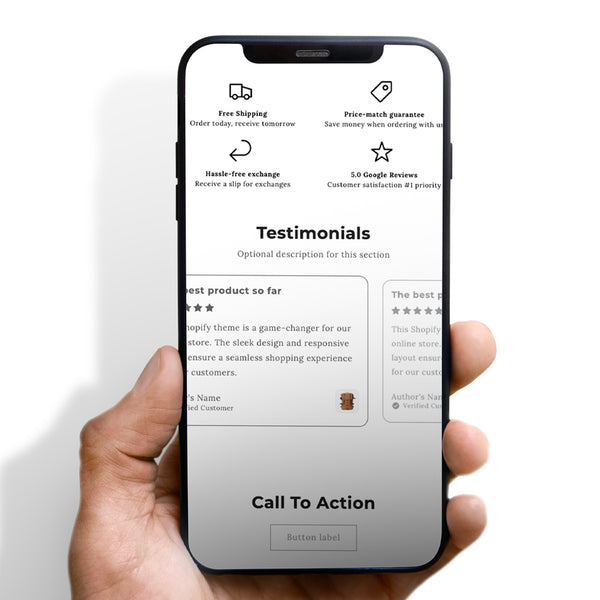
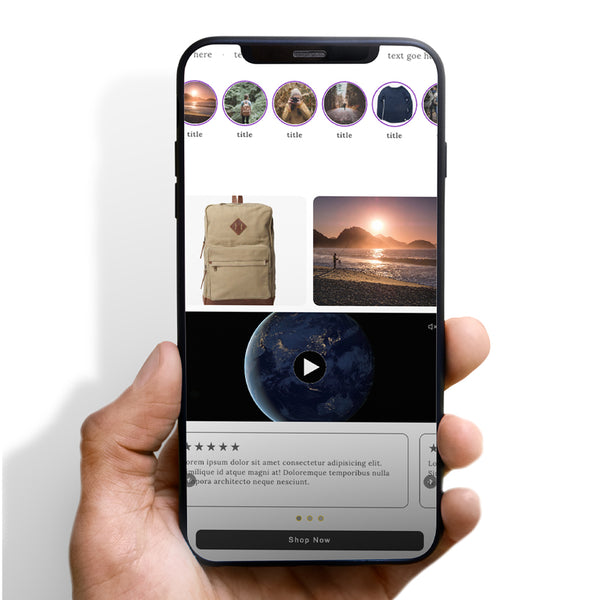
Substep: Selecting and Customizing Your Theme
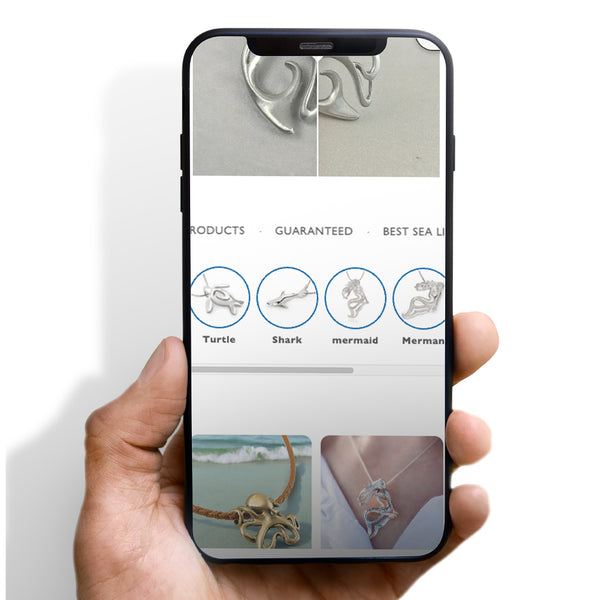
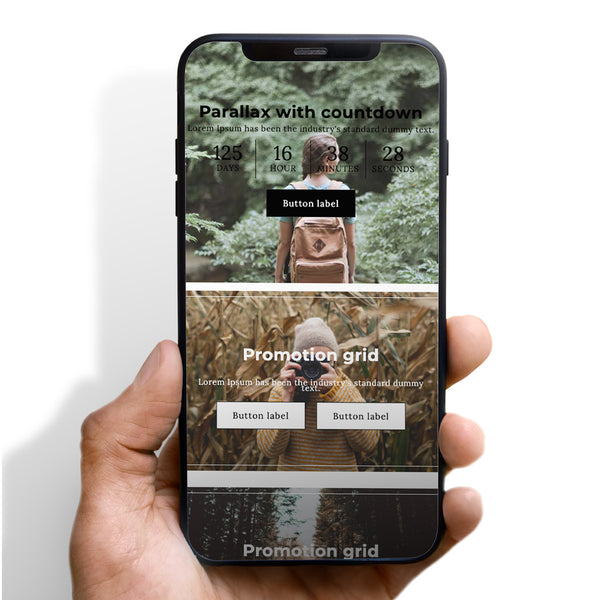
Shopify's Theme Store provides a wealth of themes, both free and paid. Remember, the theme should align with your brand's aesthetic and the nature of your products.
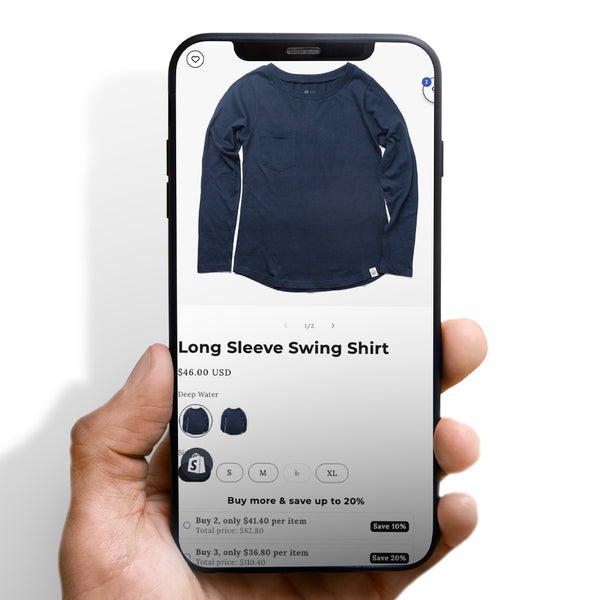
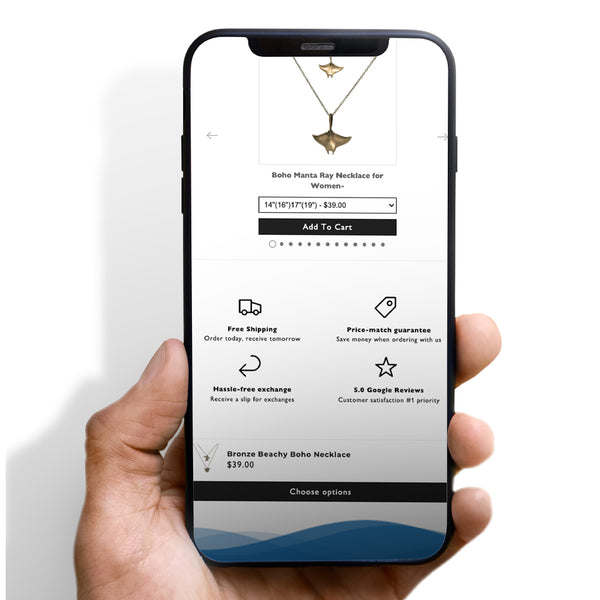
Step 3: Adding Your Products
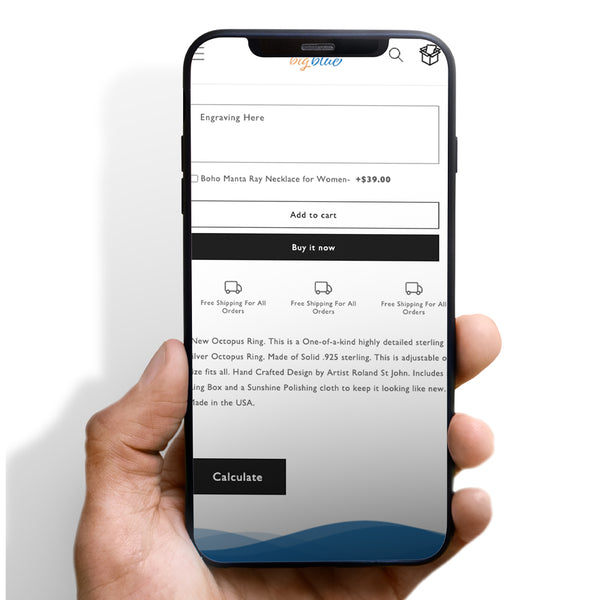
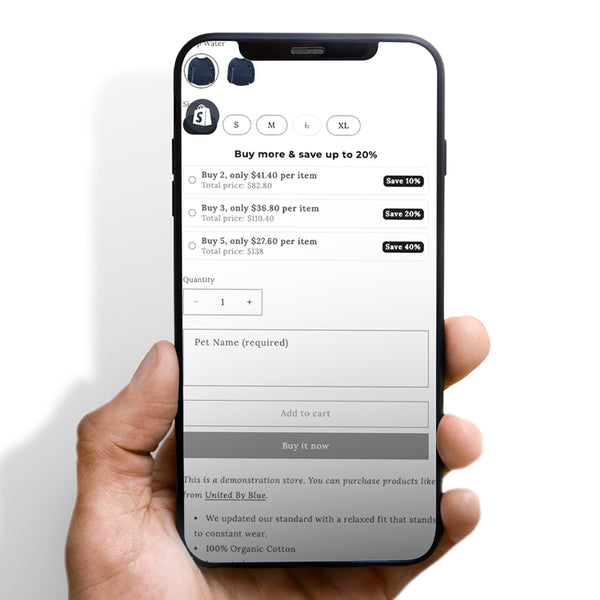
After setting up your store's appearance, it's time to upload your products. Navigate to 'Products' on your dashboard and click 'Add Product.' Here you'll include product details such as name, price, description, and images.
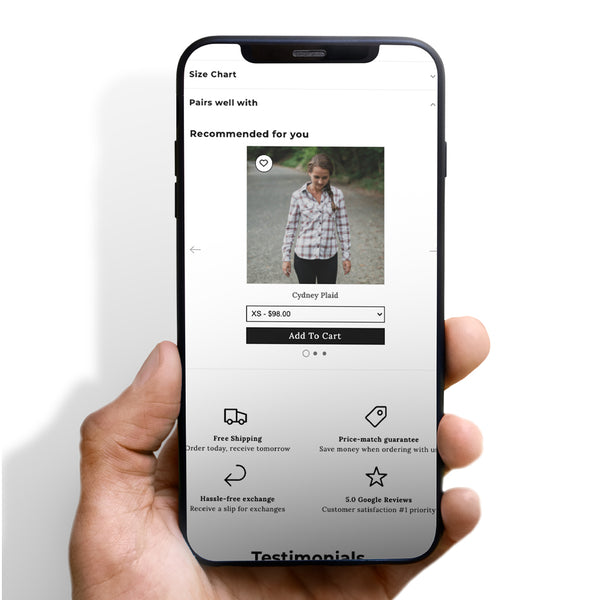
Substep: Optimizing Product Listings
Ensure your product descriptions are clear, enticing, and keyword-rich. This enhances visibility on search engines and convinces potential customers to make a purchase.
Step 4: Setting Up Your Domain
A custom domain enhances your brand's professionalism and trustworthiness. Visit the 'Domains' section in your Shopify admin, click 'Buy new domain,' and follow the instructions to purchase and connect a domain.
Step 5: Activating Payment Providers
Under 'Settings,' select 'Payment providers.' Shopify offers a range of options, including Shopify Payments, PayPal, and third-party providers. Choose the most suitable options for your business and customers.
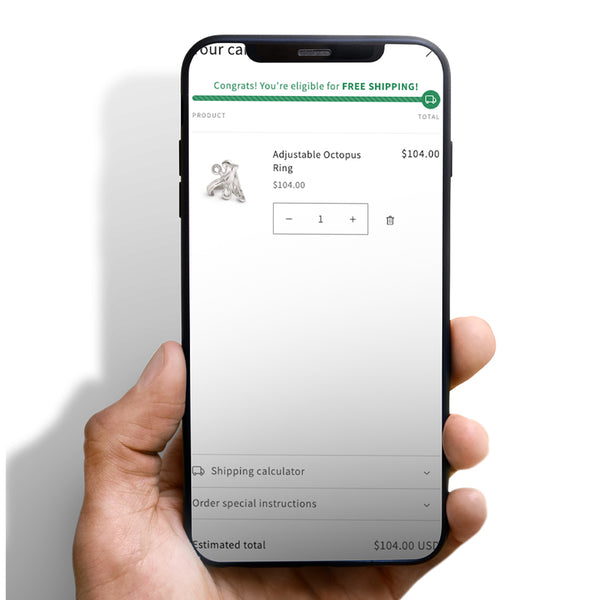
Step 6: Configure Shipping Settings
Your shipping strategy can significantly impact customer satisfaction and profitability. Set up your shipping settings in the 'Shipping and delivery' section under 'Settings.'
Substep: Choosing the Right Shipping Strategy
Consider offering free shipping, flat-rate shipping, or exact shipping costs. Factor in product size, weight, and your margins when determining the best approach.
Step 7: Testing Your Store
Before launching, place some test orders to ensure the checkout process is smooth. Visit 'Settings,' then 'Payment providers,' and under 'Shopify Payments,' click 'Manage.' Then, select 'Test Mode.'
Step 8: Launch Your Store
The culmination of your hard work is finally here—launching your Shopify store. This step is more than just pressing a button; it's about ensuring that your store is fully functional, optimally designed, and ready to deliver an exceptional user experience.
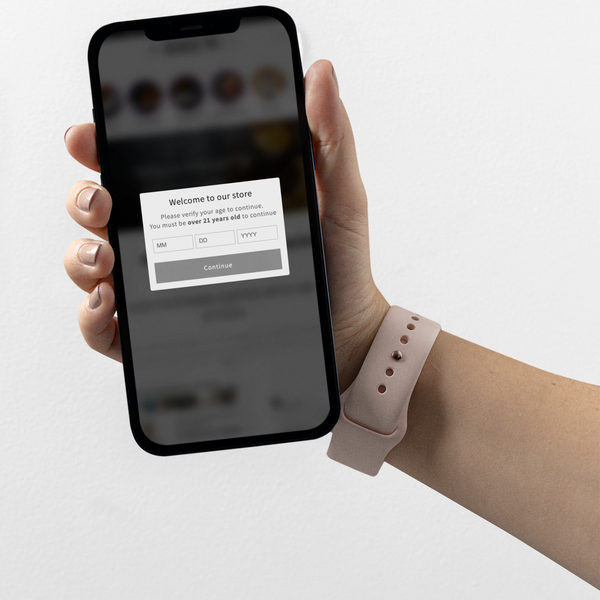
Substep: Disable Password Protection
Before your store can go live, you'll need to disable password protection. To do this, navigate to the 'Preferences' section under 'Online Store' in your Shopify dashboard. Under 'Password protection,' uncheck the 'Enable password' box.
Substep: Creating a Launch Plan
A launch plan outlines how you'll introduce your online store to potential customers. It includes marketing and promotion strategies designed to generate buzz and attract visitors. Consider leveraging social media, email newsletters, and PR efforts to announce your store's grand opening.
Substep: Checking Store Functionality
Before launch, it's crucial to ensure your store operates flawlessly. This includes testing the checkout process, ensuring that all product pages load correctly, links are working, and the site navigation is smooth.
Substep: Setting Up Customer Service Channels
Excellent customer service is key to a successful online store. Prior to launch, set up your customer service channels. This could be through email, live chat, or a customer service phone line. Be sure your customers have a way to reach out for support and inquiries.
Substep: Announcing the Launch
Now that your Shopify store is live, let the world know. Announce the launch through the channels outlined in your launch plan. This is the beginning of your journey in eCommerce, and every visitor to your store is a potential customer.
By meticulously preparing and executing your launch, you lay the groundwork for a successful and sustainable online business. The launch is just the beginning - continuously refining your operations and responding to customer feedback will help drive your store's success in the long run.
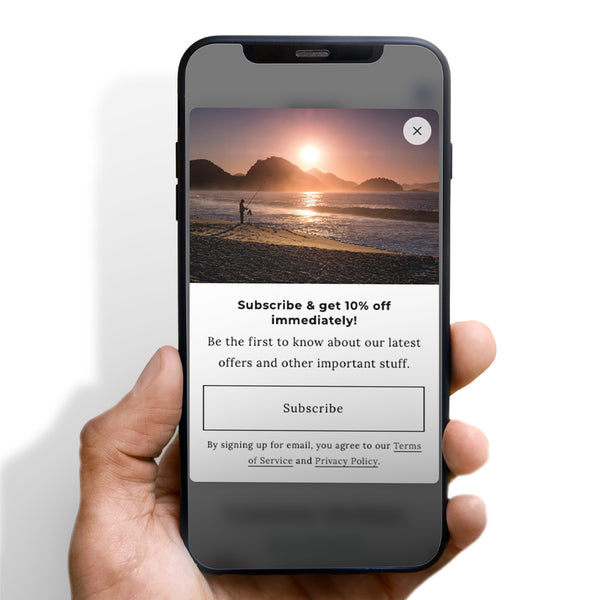
Step 9: Marketing Your Store
Once your store is live, you'll need to attract customers. Utilize SEO practices, social media marketing, email newsletters, and pay-per-click advertising to boost visibility and attract customers.
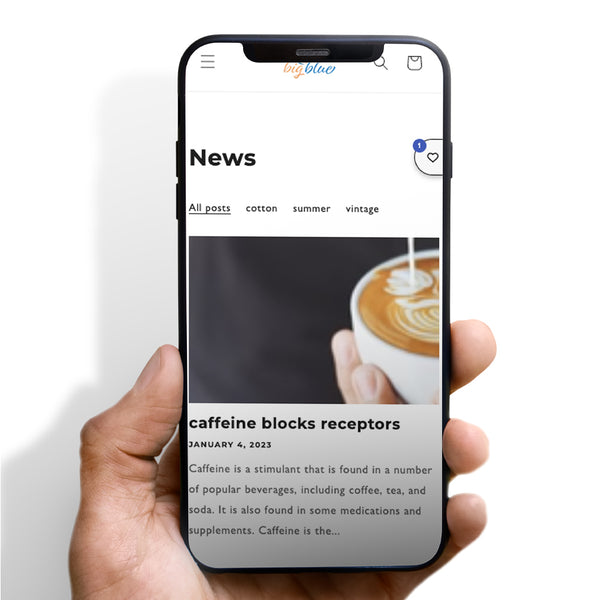
Step 10: Analyzing and Optimizing
Once your store is up and running, it's essential to consistently track your performance and optimize your strategies accordingly. Shopify provides comprehensive analytics tools that can offer valuable insights into your business operations and customer behaviors. This knowledge enables you to fine-tune your efforts for optimal results.
Substep: Accessing Shopify Analytics
In your Shopify dashboard, navigate to the 'Analytics' section. Here, you'll find a wealth of data regarding your store's performance.
Substep: Key Metrics to Monitor
There are several crucial metrics to track:
-
Sales: This data includes total sales, returning customer rate, and average order value.
-
Customers: Track your customer acquisition, including total customers and customer locations.
-
Behavior: Monitor your online store sessions, session duration, and pages viewed per session.
-
Marketing: Evaluate the success of your marketing efforts through conversion rate, cart abandonment rate, and site traffic.


 5/5 from 144 reviews